GitSwarm 2016.3-2 Documentation
Twitter OAuth2 OmniAuth Provider
To enable the Twitter OmniAuth provider you must register your application with Twitter. Twitter will generate a client ID and secret key for you to use.
Sign in to Twitter Application Management.
Select "Create new app"
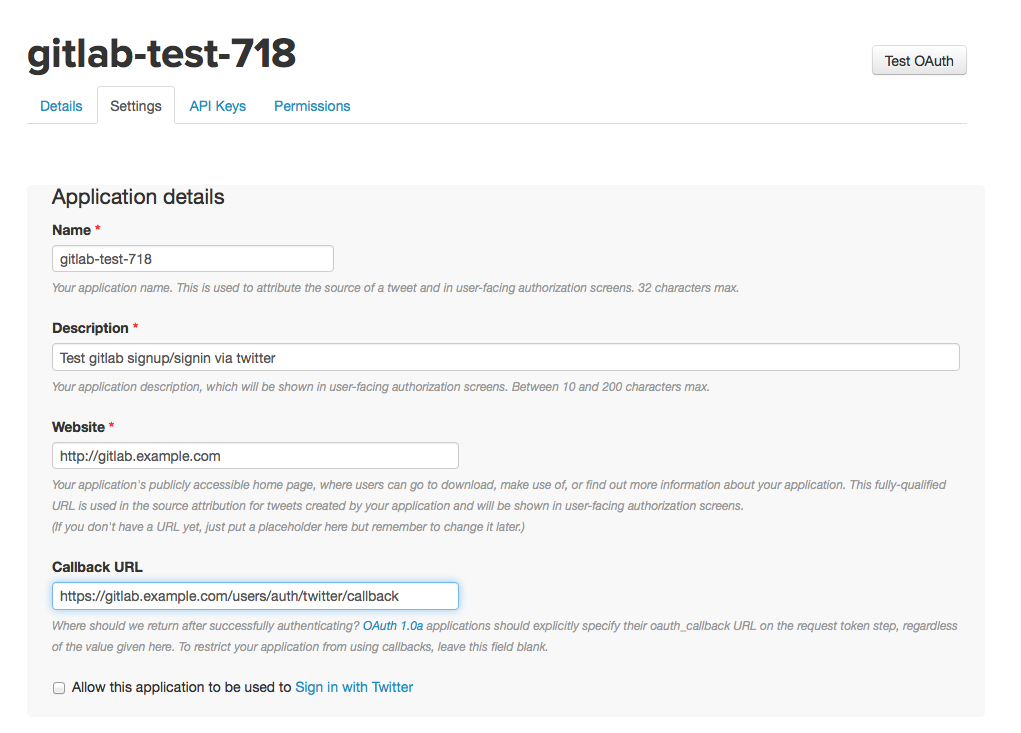
- Fill in the application details.
- Name: This can be anything. Consider something like "<Organization>'s GitSwarm" or "<Your Name>'s GitSwarm" or something else descriptive.
- Description: Create a description.
- Website: The URL to your GitLab installation. 'https://gitswarm.example.com'
- Callback URL: 'https://gitswarm.example.com/users/auth/twitter/callback'
- Agree to the "Developer Agreement".
Select "Create your Twitter application."
Select the "Settings" tab.
Underneath the Callback URL check the box next to "Allow this application to be used to Sign in with Twitter."
Select "Update settings" at the bottom to save changes.
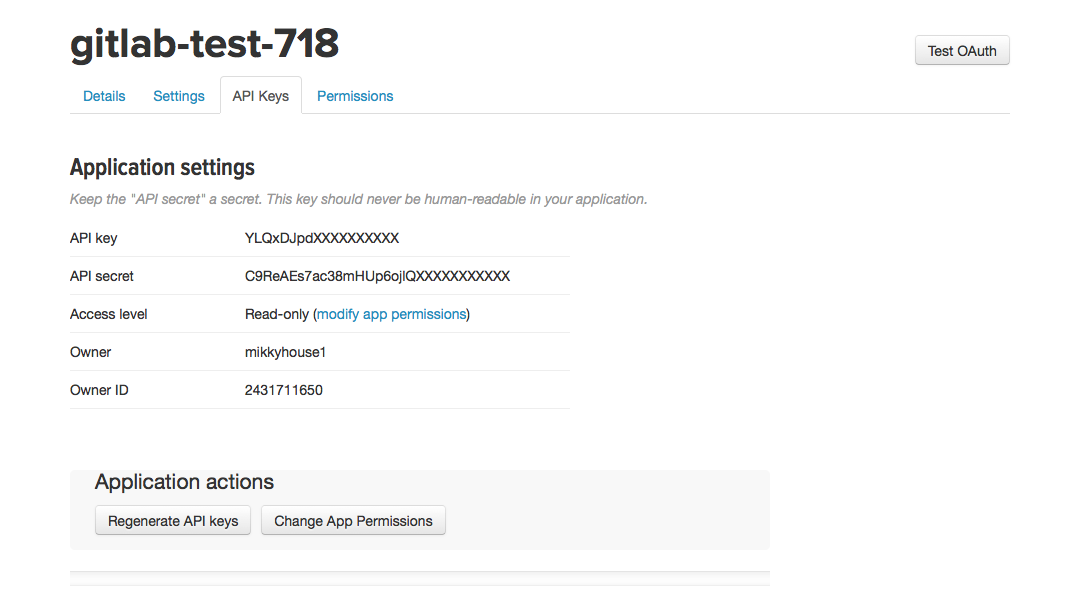
Select the "Keys and Access Tokens" tab.
You should now see an API key and API secret (see screenshot). Keep this page open as you continue configuration.
On your GitSwarm server, open the configuration file.
For package installation:
sudo editor /etc/gitswarm/gitswarm.rbFor source installations:
  cd /home/git/gitlab

  sudo -u git -H editor config/gitlab.yml
See Initial OmniAuth Configuration for initial settings.
Add the provider configuration:
For package installation:
  gitlab_rails['omniauth_providers'] = [
    {
      "name" => "twitter",
      "app_id" => "YOUR_APP_ID",
      "app_secret" => "YOUR_APP_SECRET"
    }
  ]
For source installations:
  - { name: 'twitter', app_id: 'YOUR_APP_ID',
    app_secret: 'YOUR_APP_SECRET' }
Change 'YOUR_APP_ID' to the API key from Twitter page in step 11.
Change 'YOUR_APP_SECRET' to the API secret from the Twitter page in step 11.
Save the configuration file.
Restart GitSwarm for the changes to take effect.
On the sign in page there should now be a Twitter icon below the regular sign in form. Click the icon to begin the authentication process. Twitter will ask the user to sign in and authorize the GitSwarm application. If everything goes well the user will be returned to GitSwarm and will be signed in.