How do I manage project branches?
-
Visit your project page.
-
 Click .
-
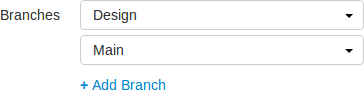 Next to the Branches label,
a drop-down button for each branch is displayed, plus an
button.
Next to the Branches label,
a drop-down button for each branch is displayed, plus an
button.
Adding a branch
-

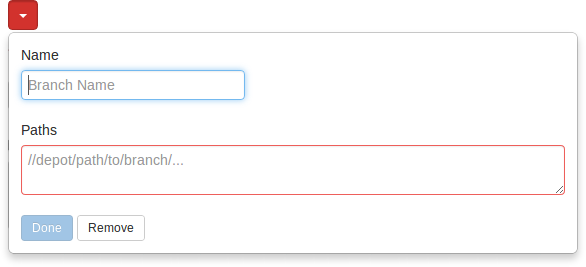
Click the link to display the branch drop-down dialog:
-
Type in a short
Namefor your branch. -
Type in one or more branch Paths, one per line.
Tip
Each branch path can use wildcards and depot syntax.
For more information, see Command Reference: File Specifications.
-
 Click the button to accept your branch
specification.
Click the button to accept your branch
specification.
-
 Click to save the branch changes to your
project.
Click to save the branch changes to your
project.
Note
The project name does not need to be included in the branch name; Swarm displays the project name with the branch name when appropriate.
Editing a branch
-
Click the branch drop-down button you want to edit.
-
Revise the
NameorPathsas required. -
Click .
Removing a branch
-
Click the branch drop-down button you want to remove.
-
 Click .
-
Click .