GitSwarm-EE 2017.2-1 Documentation
Integrate your server with GitHub
Import projects from GitHub and login to your GitLab instance with your GitHub account.
To enable the GitHub OmniAuth provider you must register your application with GitHub. GitHub will generate an application ID and secret key for you to use.
Sign in to GitHub.
Navigate to your individual user settings or an organization's settings, depending on how you want the application registered. It does not matter if the application is registered as an individual or an organization - that is entirely up to you.
Select "OAuth applications" in the left menu.
If you already have applications listed, switch to the "Developer applications" tab.
Select "Register new application".
Provide the required details.
- Application name: This can be anything. Consider something like
<Organization>'s GitLabor<Your Name>'s GitLabor something else descriptive. - Homepage URL: The URL to your GitLab installation. 'https://gitlab.company.com'
- Application description: Fill this in if you wish.
- Authorization callback URL is 'http(s)://${YOUR_DOMAIN}'
- Application name: This can be anything. Consider something like
Select "Register application".
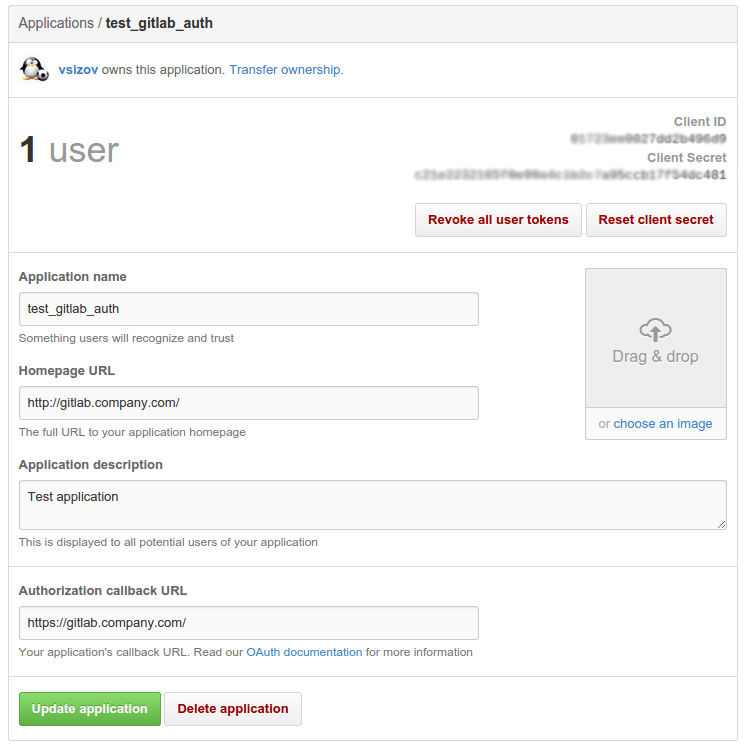
You should now see a Client ID and Client Secret near the top right of the page (see screenshot). Keep this page open as you continue configuration.
On your GitLab server, open the configuration file.
For omnibus package:
sudo editor /etc/gitlab/gitlab.rbFor installations from source:
  cd /home/git/gitlab

  sudo -u git -H editor config/gitlab.yml
See Initial OmniAuth Configuration for initial settings.
Add the provider configuration:
For omnibus package:
For GitHub.com:
  gitlab_rails['omniauth_providers'] = [
    {
      "name" => "github",
      "app_id" => "YOUR_APP_ID",
      "app_secret" => "YOUR_APP_SECRET",
      "args" => { "scope" => "user:email" }
    }
  ]
For GitHub Enterprise:
  gitlab_rails['omniauth_providers'] = [
    {
      "name" => "github",
      "app_id" => "YOUR_APP_ID",
      "app_secret" => "YOUR_APP_SECRET",
      "url" => "https://github.com/",
      "args" => { "scope" => "user:email" }
    }
  ]
For installation from source:
For GitHub.com:
  - { name: 'github', app_id: 'YOUR_APP_ID',
    app_secret: 'YOUR_APP_SECRET',
    args: { scope: 'user:email' } }
For GitHub Enterprise:
  - { name: 'github', app_id: 'YOUR_APP_ID',
    app_secret: 'YOUR_APP_SECRET',
    url: "https://github.example.com/",
    args: { scope: 'user:email' } }
Replace
https://github.example.com/with your GitHub URL.Change 'YOUR_APP_ID' to the client ID from the GitHub application page from step 7.
Change 'YOUR_APP_SECRET' to the client secret from the GitHub application page from step 7.
Save the configuration file and run
sudo gitlab-ctl reconfigure.Restart GitLab for the changes to take effect.
On the sign in page there should now be a GitHub icon below the regular sign in form. Click the icon to begin the authentication process. GitHub will ask the user to sign in and authorize the GitLab application. If everything goes well the user will be returned to GitLab and will be signed in.