Source Code Repository Hosting
Your code repository software is where you store your source code. This might be a Mercurial, Git, or SVN repository.
Perforce TeamHub (Helix TeamHub) can host your source code repository, whether it’s Mercurial, Git, or SVN.
You can add multiple repositories in one project — or create a separate project for each repository.

Mercurial Code
Repository
Host your Mercurial code repositories.

Git Code
Repository
Host your Git code repositories.

SVN Code
Repository
Host your SVN code repositories.
Host Container & Artifact Repositories
TeamHub can host more than your code repositories. You can manage and maintain all of your software assets in one spot.
This includes build artifacts (Maven, Ivy) and Docker container registries. It also includes private file sharing through WebDAV repositories for your other binary files.
Bring Your Repos Together With Perforce Version Control
You can use TeamHub on its own or alongside Perforce P4 to maintain a single source of truth across development teams via P4 Git Connector. For example, you can keep large binary files in P4, then combine those files with Git assets from TeamHub in a hybrid workspace to achieve high build performance.
How It Works For Git Teams
- Developers use Git, hosted in TeamHub.
- They can commit changes, then collaborate and do code reviews in TeamHub.
- Git code (from TeamHub) gets combined with all of your graphics, audio, video, 3D, AR/VR, and other assets (from P4) via P4 Git Connector into your preferred build runner.

P4 Git Connector is a high-performance Git server (inside a Perforce server).
Perforce P4 is the best version control software for world-class development at scale.
Code Repository Software Features
TeamHub improves collaboration for all teams — from nimble start-ups to large global teams.
Single Source of Truth
TeamHub creates a single source of truth across your repositories. It scales to handle terabytes of total data. It can support 1,000s of concurrent users. And it can unite global teams with advanced replication when used with P4 Git Connector. This makes it easy to collaborate across projects.
Flexible Workflows
TeamHub’s workflows are flexible and can adapt to your team. Admins can set up feature-branch workflows and quality gates to block changes that are not approved by team members. And developers can use side-by-side diffs, commit history, code browsing, code comparison, code search, and highlighting to work more efficiently.
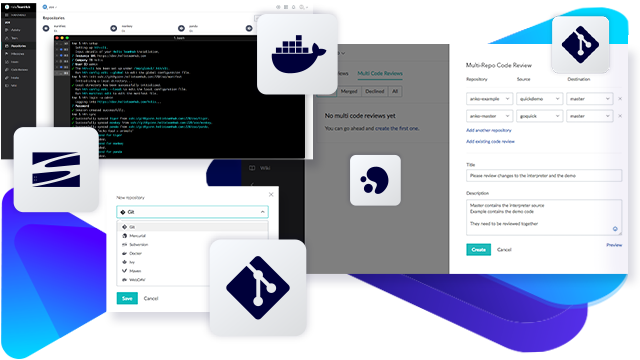
Code Reviews
You can use TeamHub to collaborate on code reviews. Comment on code changes line by line. Highlight specific issues to team members with @ mentions. Start a threaded conversation. Mark a comment as a task that needs to be addressed before merging atomically. You can even do multi-repo code reviews when you use TeamHub with P4 Git Connector.
Access Control
TeamHub supports single sign-on (SSO), Active Directory nested groups, and self-service project administration. You can authorize users on the repository and branch level. This includes 5 specific roles and 10 privilege levels to keep your projects and code secure. You can use regular user accounts and groups to manage permissions.
Wiki and Kanban Boards
Use TeamHub’s built-in project-based wiki to keep documentation and project notes in the same place as your source code. And use Kanban boards with easy filter options for a customized “at-a-glance view.” Drag-and-drop to change states or go in-depth to comment and update individual issues. The wiki and Kanban boards make it easy to see changes in real-time, look through versions to find the right data, and add attachments.
Scale TeamHub to Fit Your Needs
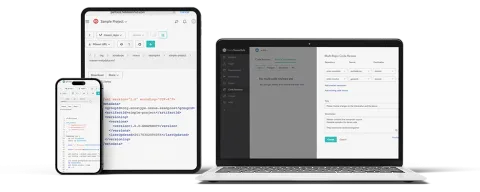
TeamHub is available in the cloud or on-premises. Learn more about the flexible plans for teams of all sizes.